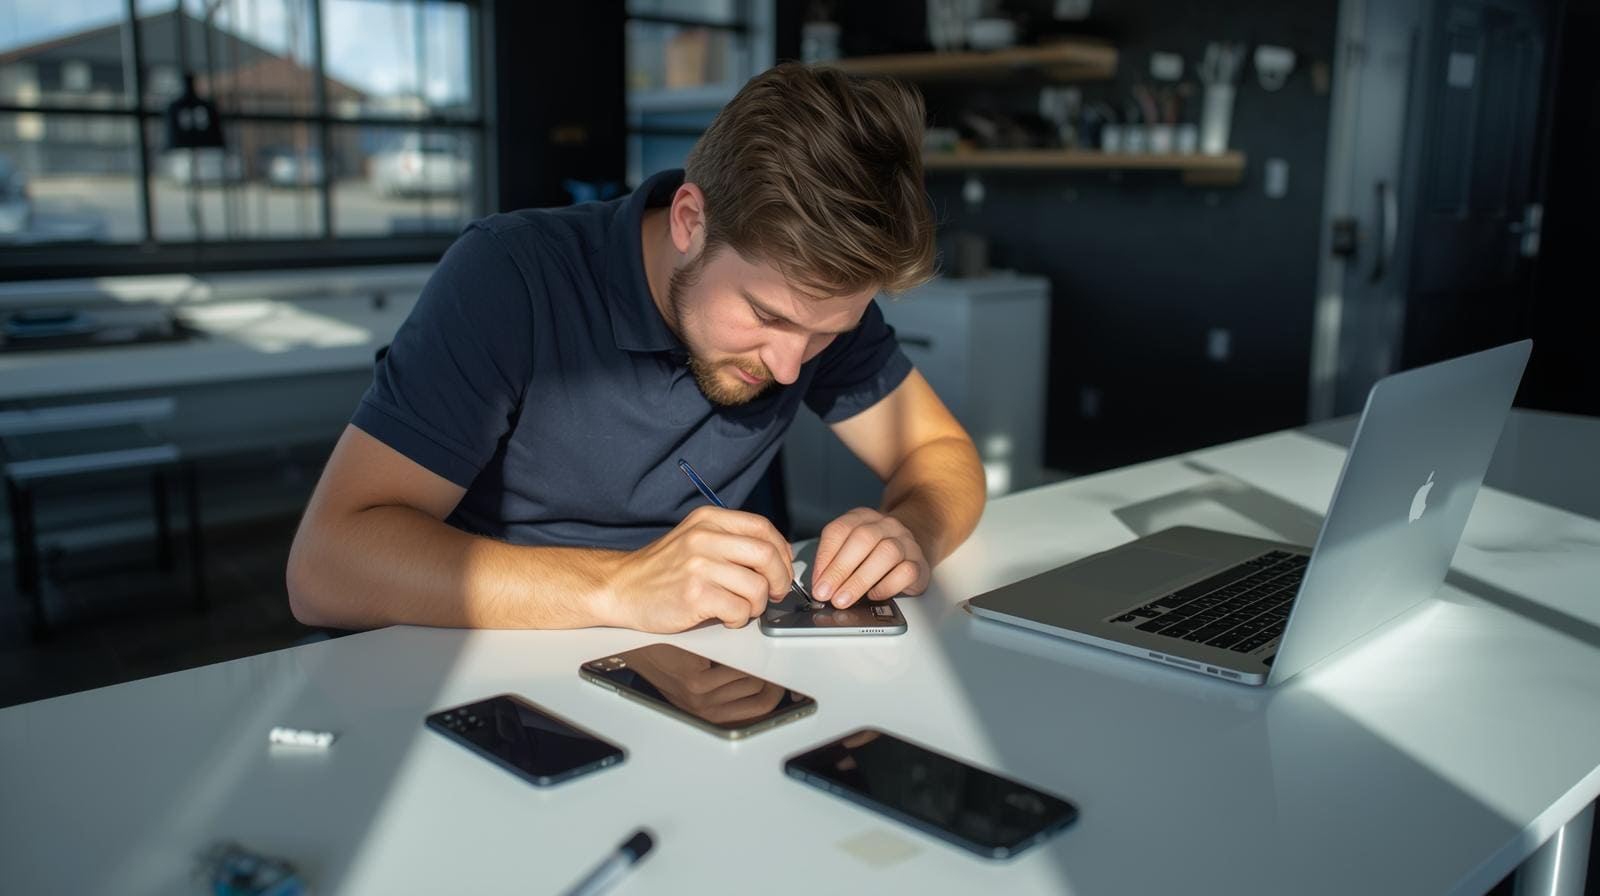
If you’re dealing with a damaged MacBook screen, Hellotech is here to help. We provide a comprehensive step-by-step guide for MacBook screen repairs, including the process of replacing the display assembly. By following our detailed instructions, you’ll gain valuable insights into the repair process and learn how to replace the display with ease.
Step 1: Identifying the Issue
When faced with a MacBook that won’t turn on, it can be frustrating. At Hellotech, we understand the importance of identifying the issue accurately. Our expert technicians can help you determine the model and year of release of your MacBook, allowing us to provide specific guidance tailored to your device. We will guide you through the process of removing the lower case and disconnecting the battery, enabling you to access the internals of your MacBook.
Step 2: Replacing the Display Flex Cable
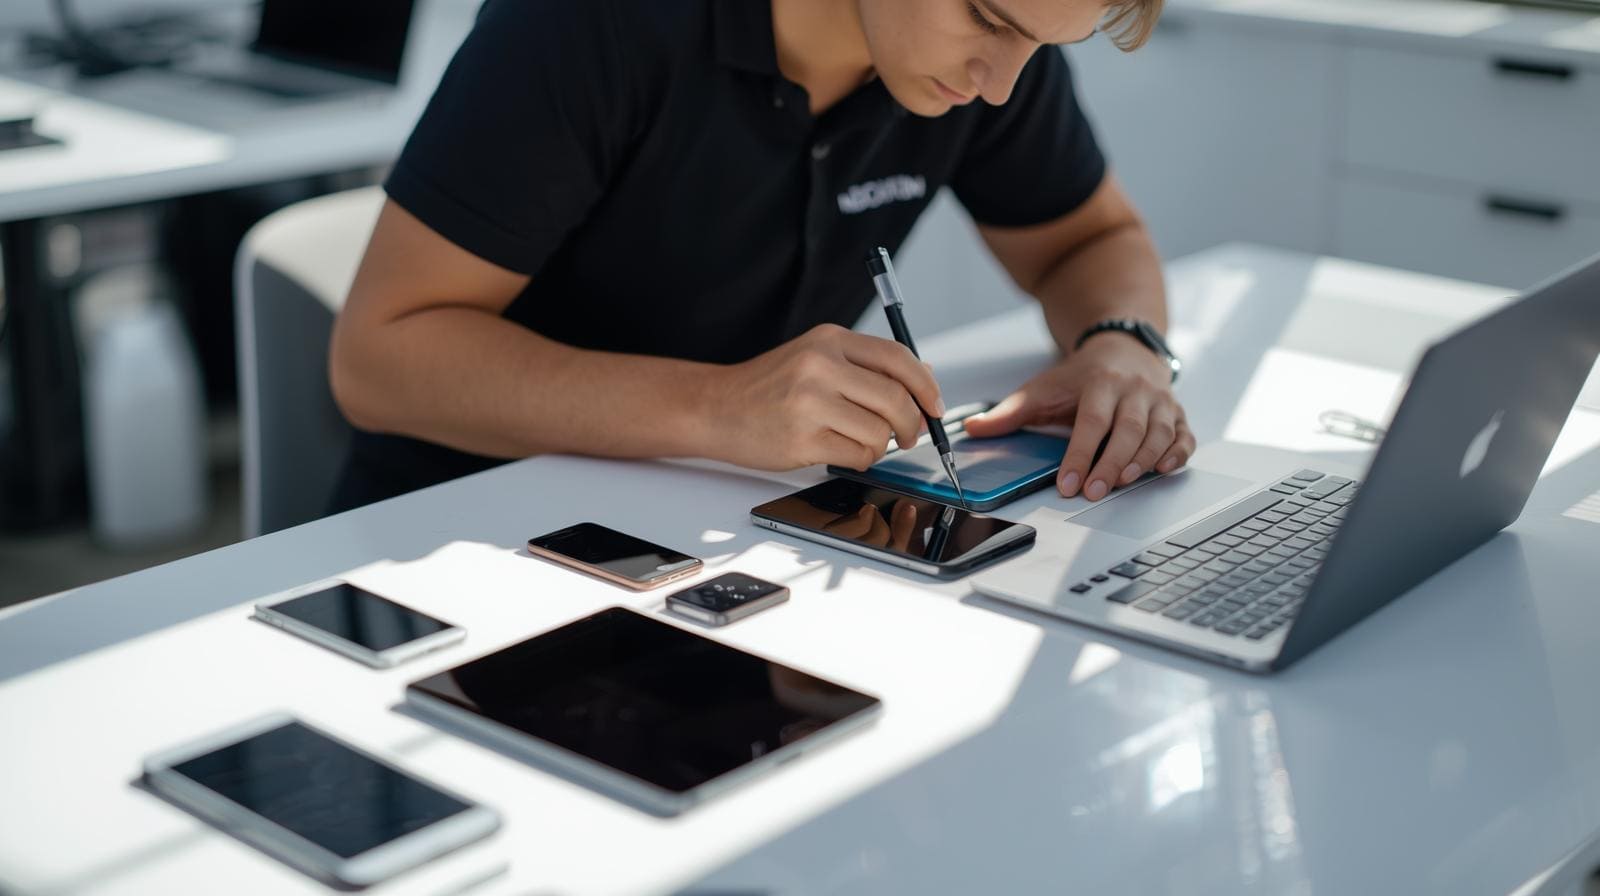
If your MacBook’s display flex cable is damaged, don’t worry. Hellotech has got you covered. Our experienced technicians will walk you through the process of safely removing the logic board to access the display flex cable. We’ll guide you in replacing the damaged cable with a new one, ensuring a secure connection. Our detailed instructions will ensure that you complete the replacement successfully and restore proper functionality to your MacBook’s display.
Step 3: Separating the Screen
To proceed with the display replacement, it’s important to separate the screen from the bottom half of the keyboard carefully. At Hellotech , we understand the delicate nature of this task. Our experts will guide you through the process, providing helpful tips and techniques to avoid any damage during the separation.
Step 4: Screen Replacement
Replacing the screen on a MacBook requires precision and expertise. At Hellotech, we utilize specialized tools, such as the Air Slice, to ensure a smooth and efficient screen replacement process. Our technicians will guide you in using the Air Slice to detach the LOGO strip and screen iron bar, ensuring that the display is separated safely from the upper case. We’ll provide step-by-step instructions to remove the old screen and attach the new one, ensuring a perfect fit and optimal display performance.
Step 5: Installation & Testing
After successfully replacing the screen, it’s time to reinstall the components and test your MacBook. At Hellotech, we’ll guide you through the process of installing the spring bar, securing the screen iron bar, and reassembling the display assembly with the bottom half of the keyboard. We’ll ensure that all connections are properly secured and that the WiFi antenna, display flex cable, and screen are tightened with screws. Finally, we’ll guide you in reconnecting the battery and installing the lower case.
Conclusion
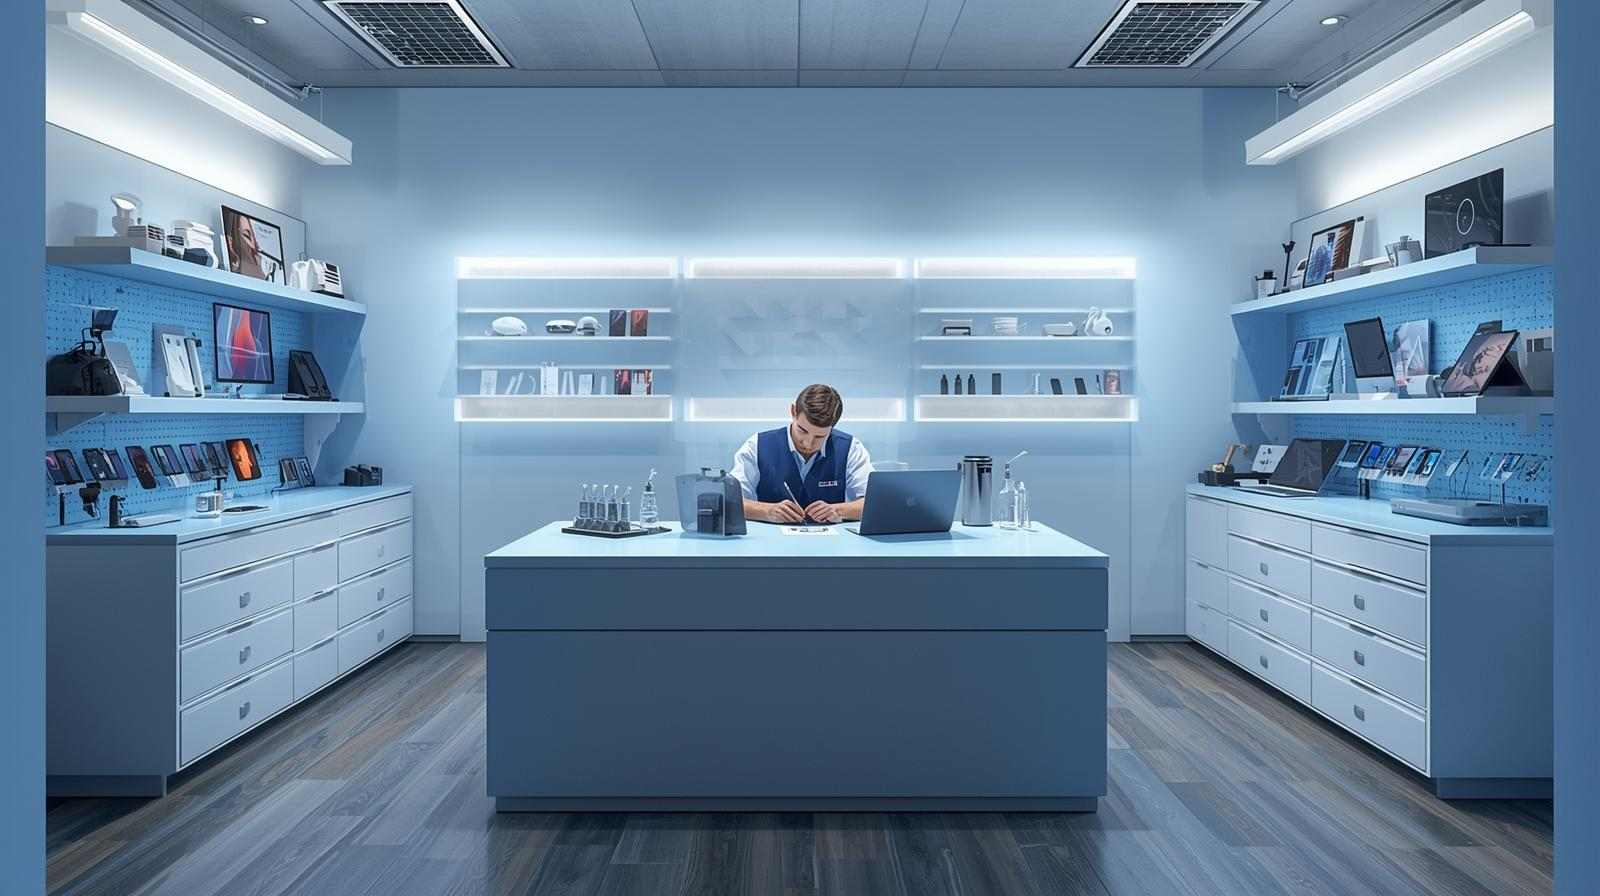
At Hellotech, we provide comprehensive guidance and support for MacBook screen repairs. Our step-by-step guide will empower you to replace your MacBook’s display with confidence. However, we understand that not everyone may feel comfortable performing the repair themselves. That’s why we also offer professional repair services, ensuring that your MacBook is in the hands of experienced technicians who will handle the repair with utmost care.